
 English
  Tiếng Việt
 In the era of Industry 4.0, strong and stable internet connection is essential for every home, office, or workspace. One of the advanced connection solutions today is a satellite WiFi router. This router not only provides internet in remote areas but also enables global connectivity without being limited by traditional infrastructure. However, to use a satellite WiFi router effectively at home, you need to perform some setup and optimization steps. The following article will help you understand how to set up a satellite WiFi router and tips for effective use. 

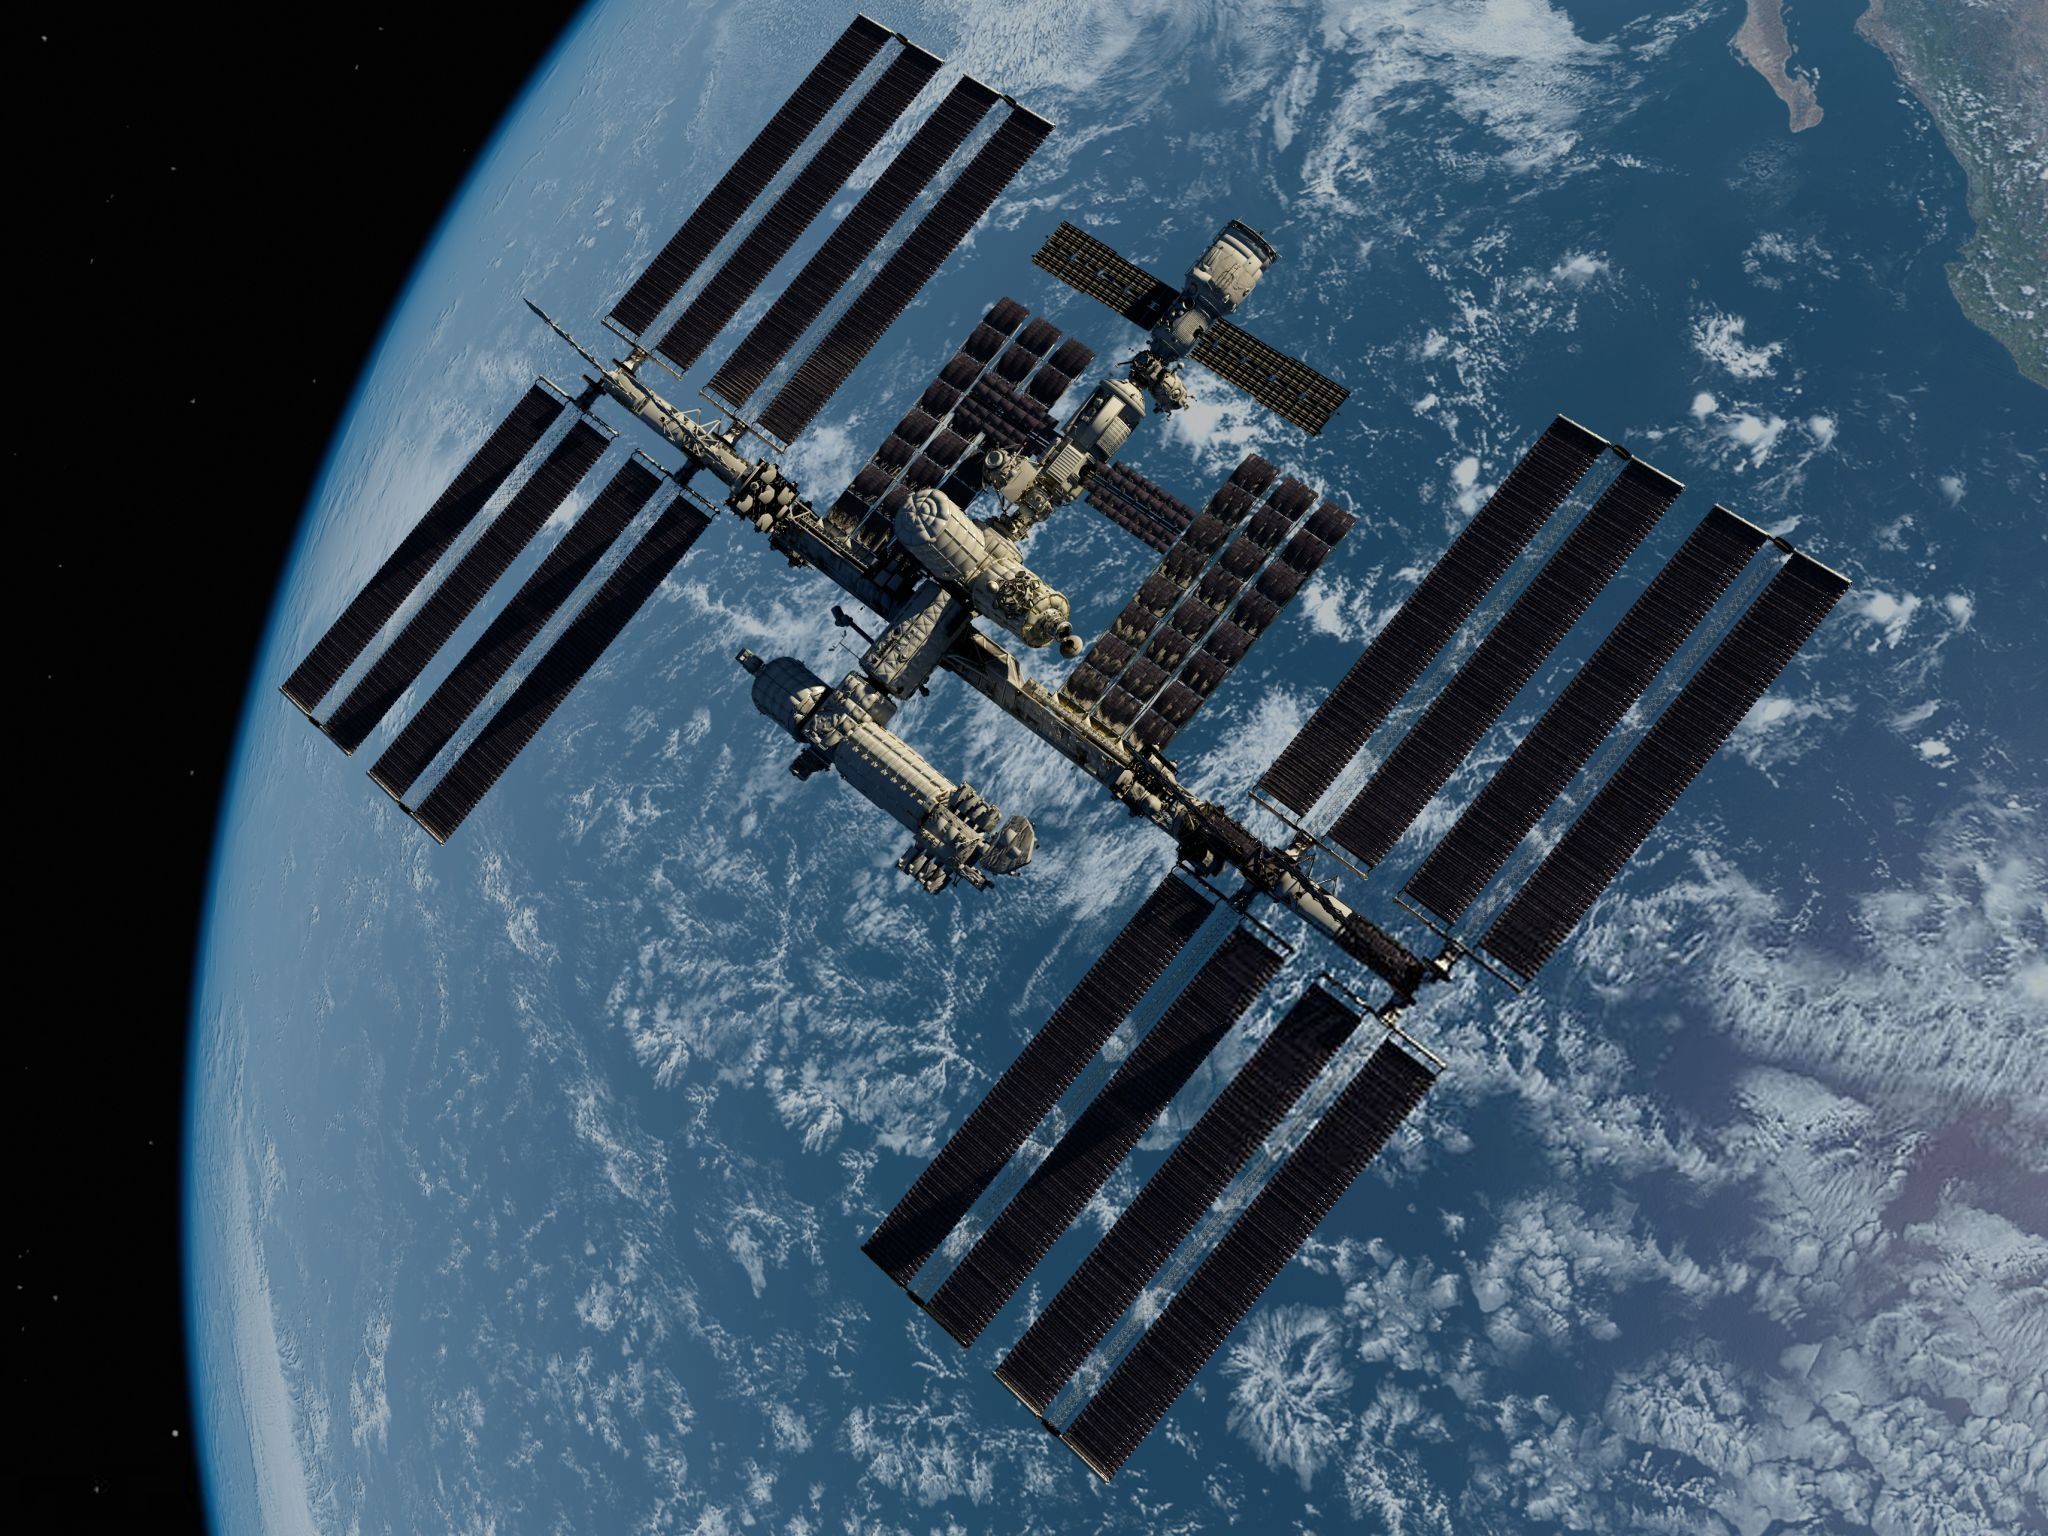
Satellite
1. Preparation before installation
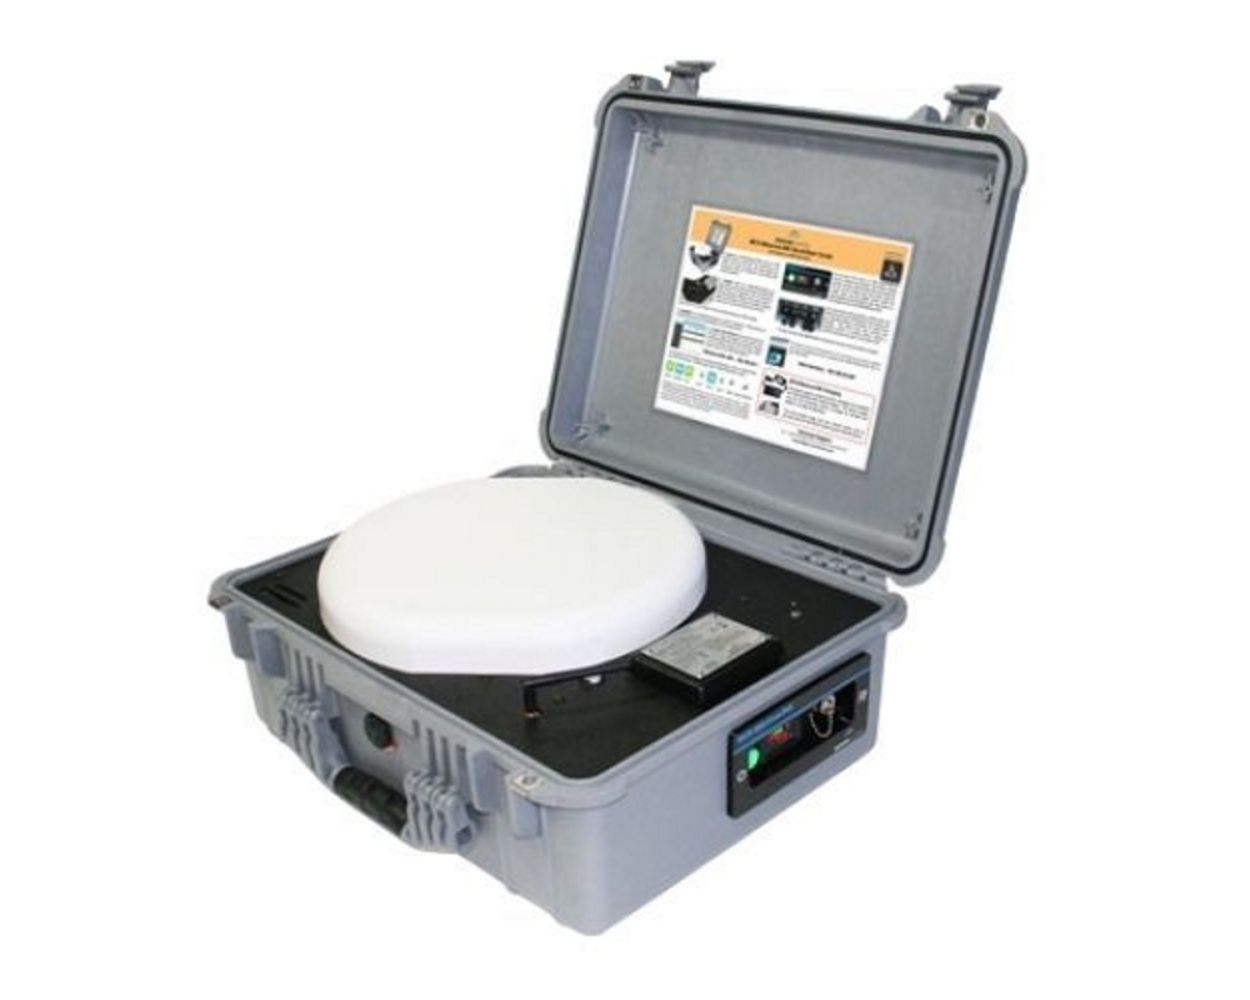
- Required equipment:
- Satellite WiFi router (such as Hughes 9211-HDR or Inmarsat BGAN).
- Network cables, power supply, and instructions from the provider.
- Check the location:
- Choose an open area, free from trees or obstructions blocking the view of the sky (satellite direction).
- For example: A rooftop or balcony is "ideal"!
2. Installation steps
- Install the satellite antenna:
- Mount the outdoor antenna, secure it firmly, and point it towards the sky at the angle specified by the provider.
- Connect the cable from the antenna to the indoor router.
- Connect the router:
- Plug in the power for the router, and connect the cable from the antenna to the appropriate port (usually "SAT IN").
- Turn on the device, wait for the signal light to turn on (about 1-2 minutes).
- Set up WiFi:
- Using a phone/laptop, go to WiFi settings, find the network from the transmitter (e.g., “Hughes-9211”).
- Enter the default password (see user manual) or change to a new password for security.
3. Efficient Use
- Connect device:
- Connect multiple devices simultaneously (phone, laptop) within a 30m range.
- Practical Application:
- Browse the web, make video calls, send emails – sufficient for use even with speeds around 650 Kbps.
- Optimization Tips:
- Place the transmitter in a central location, avoid unnecessary disconnections to save battery.
4. Important Notes
- Battery: Use for 4-6 hours, requires a power bank for longer use.
- Cost: Device cost and satellite subscription fees are quite high – consider your needs before purchasing.
- Weather: Avoid heavy rainstorms as they can affect the signal.
Conclusion
Setting up and using a satellite WiFi transmitter at home is super easy, just a few steps and you'll have “continental” internet! Ready to “fight”? Comment with any questions for me to assist!